REVIEW · HVAR CITY
Hvar: Pakleni Islands Self-Guided Kayaking Tour
Book on GetYourGuide →Operated by Kayak & SUP Hvar · Bookable on GetYourGuide
The Pakleni Islands are a paddle away. This self-guided kayaking day from Hvar lets you skip crowds and drift into quiet pebble coves, all while using sit-on-top kayaks with open decks that feel steady and beginner-friendly. I love the setup for real comfort at sea, especially the waterproof dry bags for phones, towels, and spare clothes. The main drawback: the water between Hvar and the Pakleni can get choppy with wind, swells, and big boat traffic, so you’ll want decent stamina.
What makes it work is the brains behind the brawn. The team gives you clear safety guidance plus a map with time estimates, so you can choose a full-day paddle (up to about 8 hours) or a shorter loop depending on conditions. If you go, I’d plan for arms to work, and I’d be ready for at least one moment that feels more “sea kayak” than “pool float,” especially on the first crossing.
In This Review
- Key Things I’d Pay Attention To
- Why Kayaking the Pakleni Islands Feels Like a Cheat Code for Crowds
- The one catch to respect
- The Kayaks, Dry Bags, and Gear: What Actually Makes This Comfortable
- Sit-on-top kayaks you can actually work with
- Waterproof dry bags that earn their keep
- Snorkeling gear included
- What to store, and what to leave at home
- From Bonj (Hotel Amfora) Out to Your First Island Stop
- The first crossing can be the “real” workout
- What the staff gives you before you paddle
- Pakleni Pebble Beaches: Where You Actually Slow Down
- Pull-in swimming stops
- One example stop: Zdrilca Beach
- Snorkeling and swim time are the payoff
- Timing Your Day: Why Full Day Rentals Work Best
- Plan for crossings, not just beaches
- How long is “enough”?
- Food, Water, and Money: Small Details That Change Your Day
- Bring water and don’t run low
- Bring cash for island spots
- Sunscreen and shade planning
- Safety and Fitness: Who This Is For (and Who Should Rethink It)
- What “fitness” means here
- Water confidence matters
- Why the safety setup helps
- Price and Value: Why $60 per Group Can Still Be a Good Deal
- My Booking Advice: Should You Paddle the Pakleni Islands This Way?
- FAQ
- FAQ
- Where does the tour start in Hvar?
- What type of kayaks are provided?
- Are waterproof bags included?
- Is snorkeling gear included?
- Is this a guided tour or fully self-guided?
- What do I need to bring?
- What if the weather isn’t suitable for kayaking?
Key Things I’d Pay Attention To
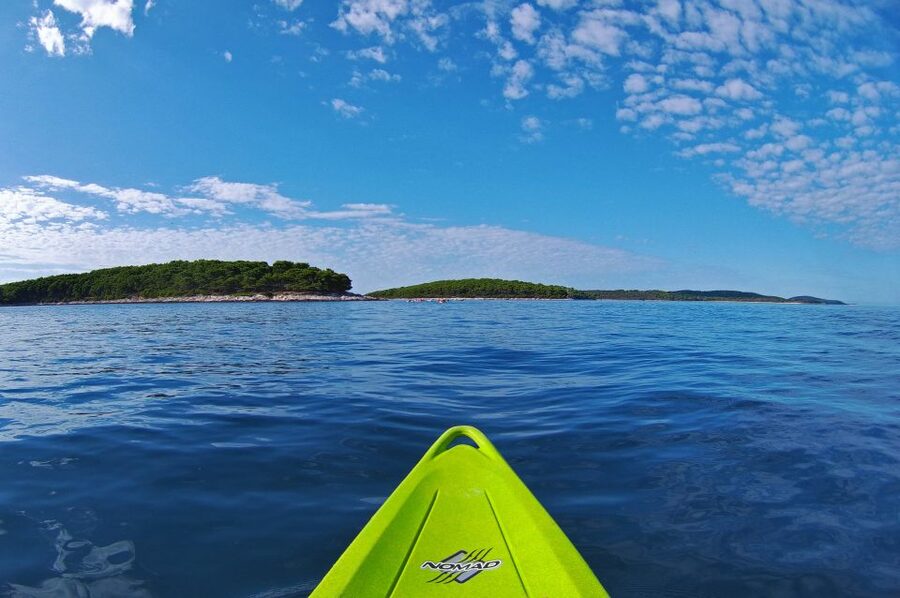
- Sit-on-top kayaks with open decks: stable platform, easy entry/exit, and less stress if you tip.
- Waterproof dry bags (3L or 30L): keep your essentials dry, including phones and cameras, when closed properly.
- A mapped route plus timing: the staff marks stopping points and how long crossings take, so you’re not guessing.
- Snorkeling masks included: you can pause for a swim and swap to snorkeling without extra rental.
- Weather-based guidance: they’ll adjust your plan based on wind and conditions, and they’ll change or cancel free if it’s unsafe.
- Bonus safety touches: reviews mention a tracking device placed inside the dry bag, adding peace of mind.
Why Kayaking the Pakleni Islands Feels Like a Cheat Code for Crowds
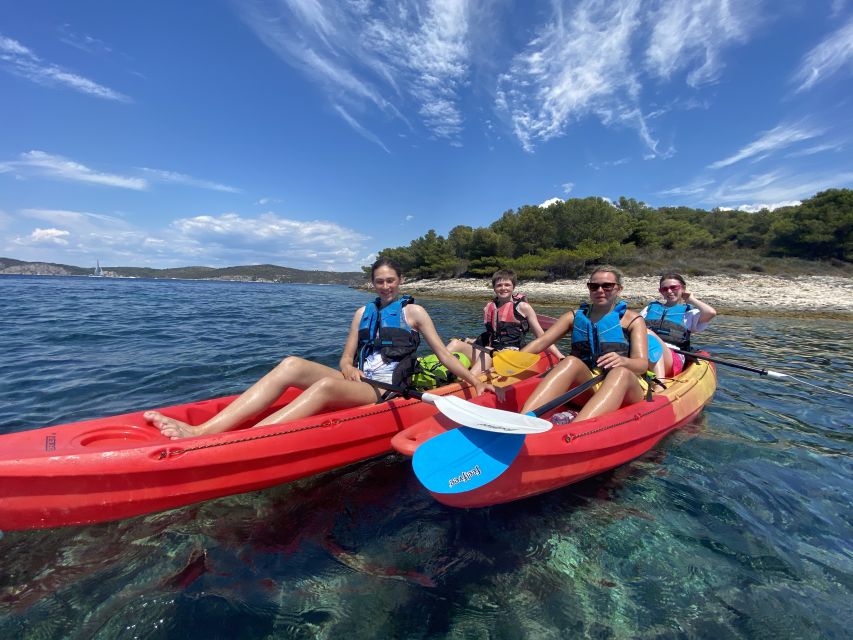
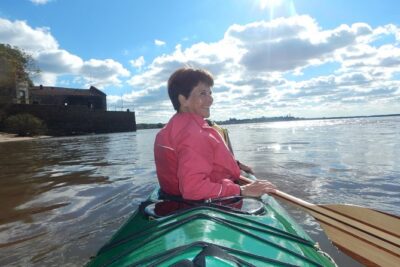
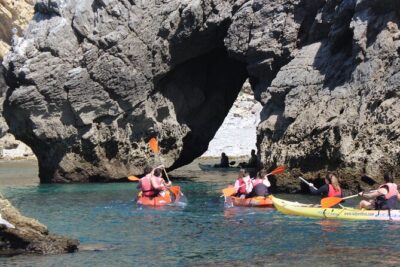
Hvar has a lot going on, especially in peak season. But the Pakleni Islands sit just offshore, close enough for an easy sea day and far enough that the atmosphere changes fast. Once you’re out on the water, the vibe turns quieter: pine-covered islands, pebble beaches, and swim spots that feel like you found them yourself.
This tour is interesting because it’s self-guided. That sounds simple, but it changes everything. Instead of riding a schedule, you choose how much time you want in the water, how long you want at a beach, and whether you want one long swim stop or a couple of shorter ones. The staff still gives you the framework—map, directions, and safety—so you’re not on your own in the dark. People rave about how detailed the map is and how helpful the instructions are, including suggestions for where to go and what to look for.
The best part for me is that the kayaks are set up to lower the fear factor. Sit-on-top designs with deluxe seats are easier to manage than sit-in boats, especially if you have longer legs. Reviews specifically call out the stability, and that matters because the Pakleni area isn’t always calm flat water.
You can also read our reviews of more tours and experiences in Hvar City.
The one catch to respect
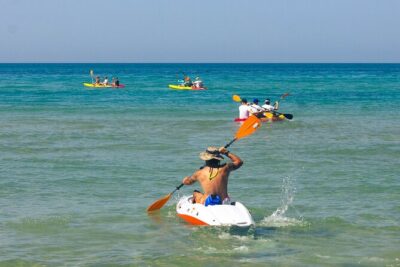
If you’re not used to open water, don’t underestimate the early “get out there” stretch. Several people mention waves from passing boats and swells that make the crossing more physical than they expected. You don’t need to be an Olympic paddler—but you should be comfortable exerting yourself for long stretches.
The Kayaks, Dry Bags, and Gear: What Actually Makes This Comfortable
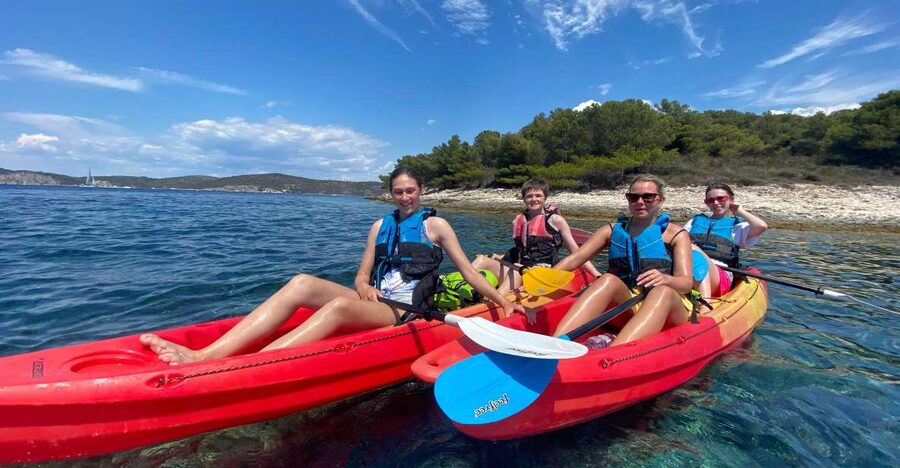
Let’s talk equipment, because this is where this tour earns trust fast.
Sit-on-top kayaks you can actually work with
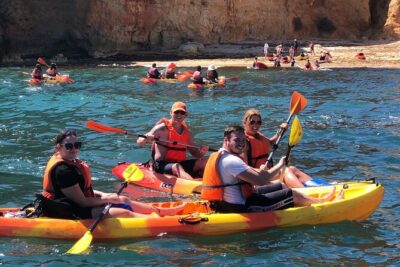
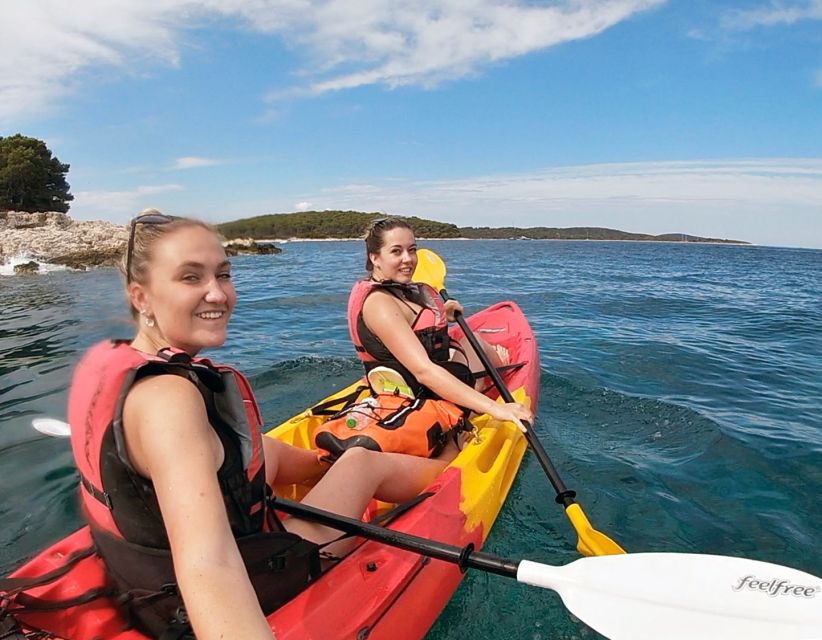
You’ll rent modern sit-on-top single or double (tandem) kayaks. They come with paddles and life jackets, plus deluxe seating. The open deck is the big deal: if the kayak tips, there’s no “trapped” feeling like some sit-in setups can create. It also makes it easier for beginners to shift position, relax, and adjust.
Stability is another repeated theme. The wide bottom and large capacity help you stay balanced while you angle for shorelines. That’s how you end up spending more time enjoying the view and less time fighting the boat.
Waterproof dry bags that earn their keep
You get dry bags in two sizes—3 liters or 30 liters—plus snorkeling masks and a sun hat. The dry bags are described as 100% waterproof, and the practical value is obvious: you can bring dry clothes, towels, shoes, and even electronics that you don’t want to ruin. Reviews also mention a tracking device placed inside the dry bag as an extra safety measure, which is a comforting detail when you’re far enough from shore that losing your bearings would be a bummer.
One small reality check: you still need to close everything properly. Dry bags work when you use them correctly—lid sealed, closure tight, no sand in the seal.
Snorkeling gear included
Snorkeling masks are included, so when you hit a clear bay, you can go straight into swim mode. You’ll still want to judge conditions yourself—visibility changes with wind and tide—but the gear is ready.
What to store, and what to leave at home
They provide free storage for backpacks and bags, and you can keep your kit protected in the dry bag. Leave anything bulky and delicate that you’d hate to soak or drop. The sea day will tempt you to pack light—good instinct.
From Bonj (Hotel Amfora) Out to Your First Island Stop
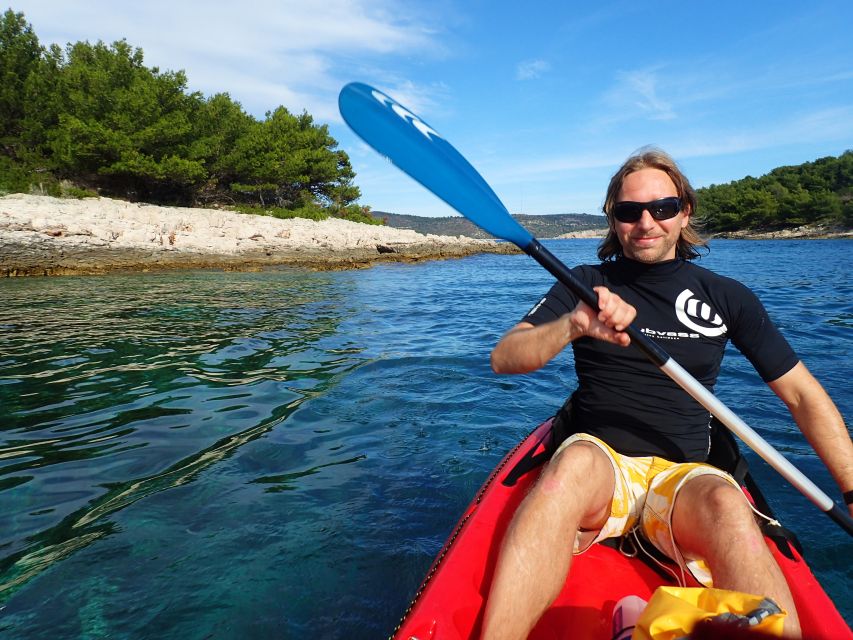
Your meeting point is on the beach of Bonj, in front of Hotel Amfora. It’s about a 10-minute walk (roughly 700 meters) from Hvar’s main square if you head west along the coast, past the first bay and a small bridge. You’ll find the operation near the bridge in a wooden hut right on the pebble beach.
This matters because your day starts with geography. You’re not launching from a harbor full of controlled docking. You’re launching from the coast, where you’ll feel how the water moves around you.
The first crossing can be the “real” workout
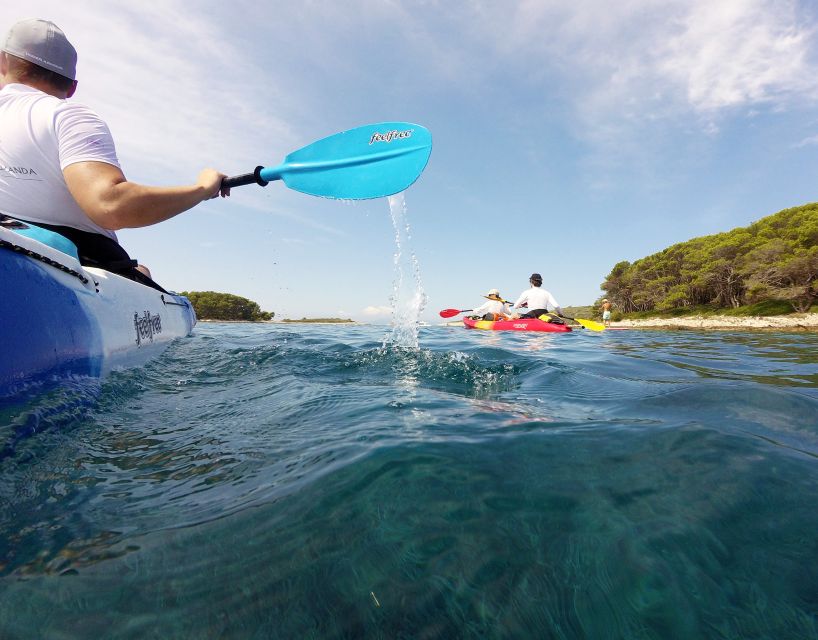
Multiple reviews mention the stretch between Hvar and the Pakleni islands as the part that feels toughest—wind, swells, and the wake created by other boats. That’s normal. The water is influenced by boat traffic leaving Hvar and whatever breeze you get that day.
My advice: treat the first 30–60 minutes like a warm-up and don’t try to prove anything. Focus on steady paddling, keep your strokes consistent, and aim to arrive at the first planned beach stop feeling ready to swim, not wrecked.
What the staff gives you before you paddle
You’ll get instructions on safety and how to use your equipment. You’ll also get a map with stopping points and timing. People call out that staff members—like Marcus and Marco—are friendly, informative, and clear. Another team name you may hear in the guides’ explanations is Reno and Lun, so don’t be surprised if those show up in the conversation while they’re walking you through your route.
Even if you’ve kayaked before, I’d still pay attention here. The route and local water behavior are the specifics that matter.
Pakleni Pebble Beaches: Where You Actually Slow Down
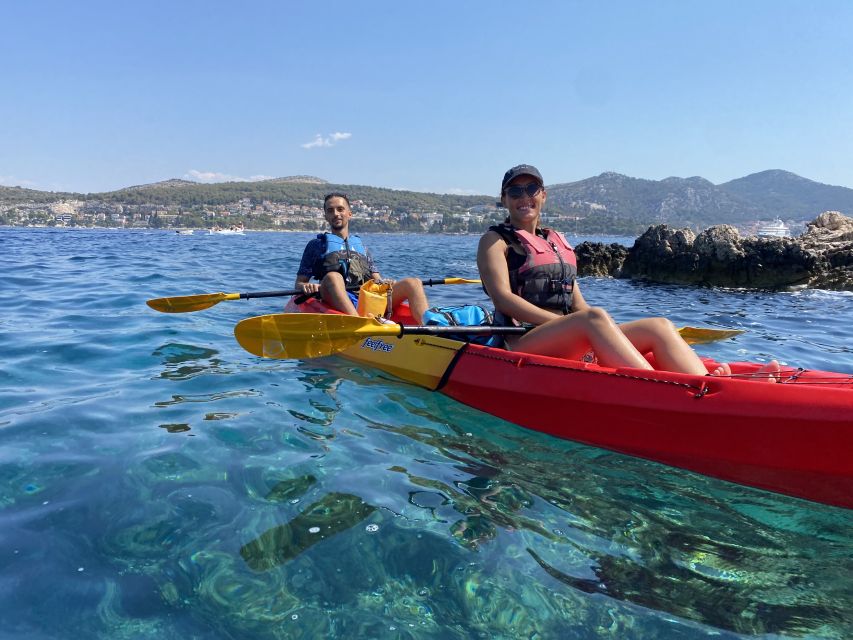
This is why you book. Once you reach the Pakleni area, you’re looking for beaches where you can land safely, take a break, and enjoy the water without constantly thinking about your next paddle stroke.
Pull-in swimming stops
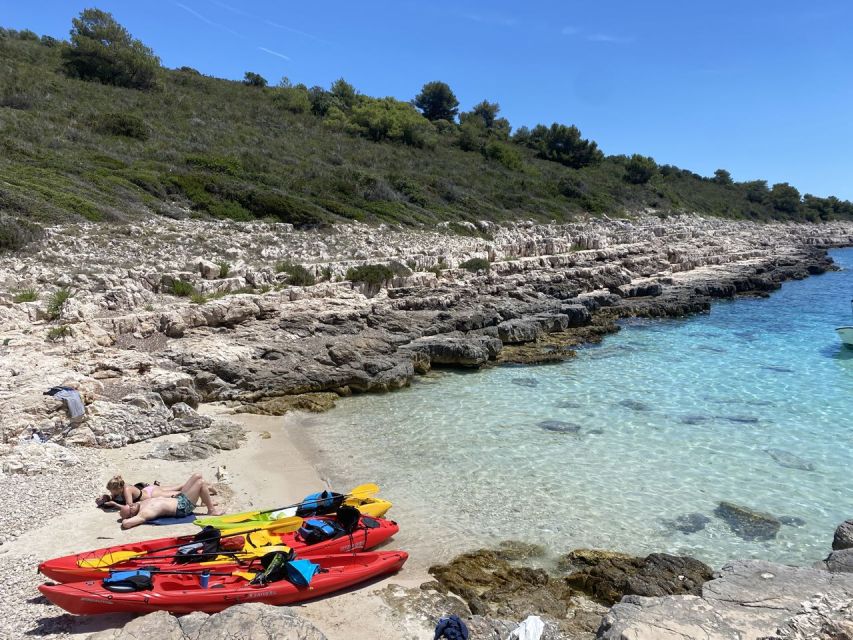
The tour is built around pebble beaches on the islands. These are the points where you can safely pull your kayak to shore, explore, eat or drink nearby, swim, snorkel, and just hang out. Most of the islands are covered with pine trees, which helps with shade on hot days—one reason this area feels more comfortable than a purely exposed coastline.
One example stop: Zdrilca Beach
A specific beach that shows up in the info and in feedback is Zdrilca Beach. People enjoyed it, and they also point out that a beachside meal or seating experience may come with costs. That’s not unusual in Croatia, but it’s worth planning for so you don’t get surprised halfway through your day.
Snorkeling and swim time are the payoff
Snorkeling masks are included, and the clearest rewards often happen when you can just stay at a stop long enough to float, swim, and look around. If conditions are rough, shorter stops can still be great. If conditions are mild, give yourself time to settle in.
The route style lets you choose. That’s why people say the day can be as long as you want. With a full day rental, you can explore more stopping points rather than doing a quick in-and-out.
Timing Your Day: Why Full Day Rentals Work Best
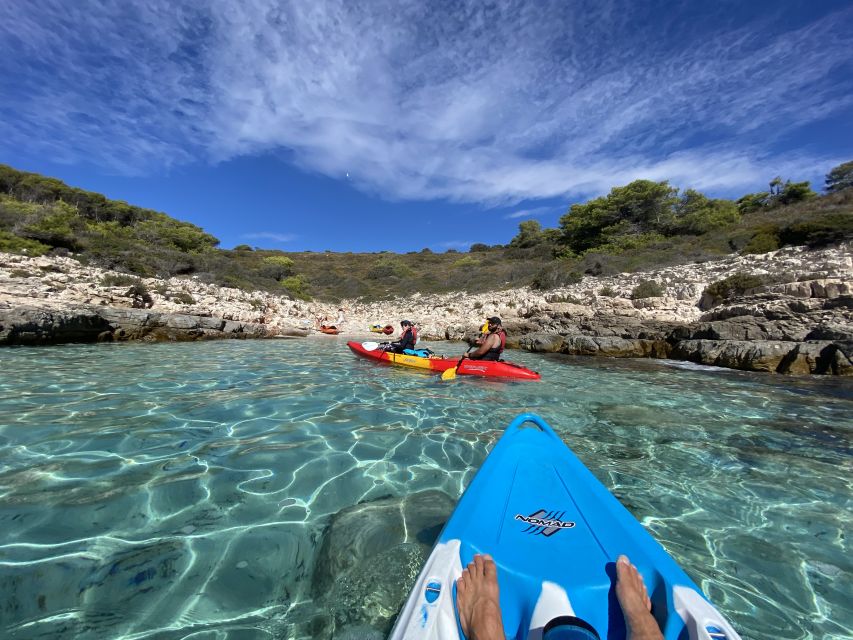
You’re paying for time on the water, not just the kayak. The operator recommends a full day rental because many attractive places are about 40–60 minutes away one way. That means your “time budget” adds up fast.
Plan for crossings, not just beaches
If you want multiple islands and more than one swim stop, you need to accept that paddling time is part of the experience. That’s also why the map and estimated travel times matter. They help you pick a realistic set of bays for the conditions you get that day.
How long is “enough”?
Some people go for around 7 hours, hit several islands, and still feel like they had time to relax. Others shorten it and focus more on one or two beach pauses. Either approach can be worth it—just don’t pack your day so tightly that you end up rushing the best part.
My practical rule: choose your number of main stops first, then add a little extra buffer for wind shifts and time to swim and snorkel.
Food, Water, and Money: Small Details That Change Your Day
Food and drinks aren’t included. That’s common for outdoor activities, but it means you should travel with a plan.
Bring water and don’t run low
People mention being charged for water at a beach, which can add up quickly. So yes, bring plenty of water from Hvar. Even if you think you’ll be fine, paddling builds thirst faster than you expect, and sun + salt air make you underestimate your needs.
Bring cash for island spots
One very practical tip: some beach restaurants accept cash only. A review specifically mentioned a recommended restaurant, Tri Grede, and the cash-only detail limited what they could order. Another review warned about added beach seating costs and meals at a recommended beach stop. Not every stop will be like that, but the lesson is clear.
So pack a small amount of cash for snacks, drinks, and any beachside fees you might encounter.
Sunscreen and shade planning
The day can be breezy on the water, which tricks you into thinking you’re not getting sun. Bring sunscreen and a hat seriously—one review notes that sunscreen was running low and the staff helped with what they had. Still, it’s better to arrive prepared than to rely on luck.
Safety and Fitness: Who This Is For (and Who Should Rethink It)
This tour is not for everyone, and the operator says it clearly: it’s not suitable for non-swimmers and it’s not ideal for people with low level of fitness.
What “fitness” means here
Fitness doesn’t mean you need to be trained. It means you should handle paddling for long stretches and manage arms fatigue when wind and swells make the boat work harder. Several reviews mention that kayaking felt more strenuous than expected on certain days because of swells and boat traffic.
Water confidence matters
If you’re not comfortable in open water, the first crossing can feel intense. That doesn’t mean you can’t do it—it means you should be honest about comfort. If you’re unsure, consider building up experience with a calmer day or a guided paddle closer to shore.
Why the safety setup helps
You get life jackets, accident insurance, and dry bags that let you keep essentials secure. Reviews also mention a tracking device placed inside the dry bag, which adds reassurance if anything goes sideways. If weather won’t be suitable, the team tells you a day or two in advance so you can change or cancel free of charge.
Price and Value: Why $60 per Group Can Still Be a Good Deal
The price is listed as $60 per group up to 1 for a 1-day rental. That number might look small compared to a full guided tour, but here’s how value works on this route:
- You’re paying for time and independence: the map and instructions let you choose your own pacing, which is rare in group tours.
- Gear is included: kayak, life jackets, dry bags, snorkeling masks, and the map/instructions package all come with the rental.
- You’re exploring a specific region: the distance to Pakleni stops means you benefit from having the kayak and local routing built in.
If you paddle for most of the day—say 6–8 hours—you’re squeezing a lot of experience into one outing: exercise, beaches, possible snorkeling, and pine-shaded coves. If you do a short rental only, it can still be fun, but you’ll get less “island time” compared to a longer outing.
The real cost surprise tends not to be the kayaking rental. It’s food, drinks, and any beachside fees. So treat the $60 as the base cost, then budget extra modestly for water/snacks and cash-only spots.
My Booking Advice: Should You Paddle the Pakleni Islands This Way?
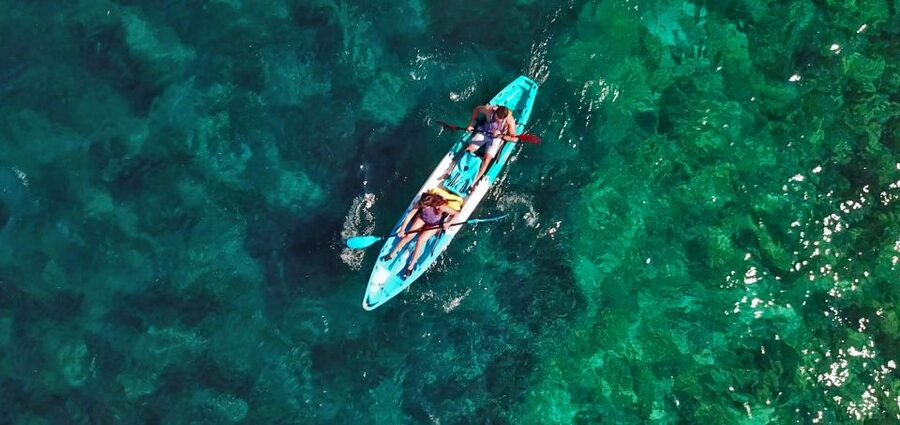
Book this if you want quiet island time without a rigid itinerary. If you like the idea of stopping when you feel like swimming, exploring a beach on foot, and pacing yourself around wind and energy levels, the self-guided format is perfect.
I’d also book it if you’re a beginner-to-intermediate paddler who benefits from stable sit-on-top kayaks, waterproof dry bags, and clear map-based directions. The safety instructions and the gear package remove a lot of the uncertainty that can come with independent sea outings.
Don’t book if you’re a non-swimmer or if rough water would make you panic. The crossing from Hvar to the Pakleni can feel more challenging than expected when boat wakes and swells line up with wind.
If you want a smooth first experience, aim for a day when the water looks calmer from Hvar—and bring your own cash and water so you can enjoy the beaches without stress.
FAQ
FAQ
Where does the tour start in Hvar?
You meet at Bonj beach in front of Hotel Amfora, near a wooden hut on the pebble beach, about a 10-minute walk (around 700 meters) from Hvar’s main square.
What type of kayaks are provided?
You rent modern sit-on-top single kayaks or double (tandem) kayaks. They include deluxe seats, paddles, and life jackets.
Are waterproof bags included?
Yes. Waterproof dry bags are included in the rental price, in 3L or 30L sizes.
Is snorkeling gear included?
Yes. Snorkeling masks are included.
Is this a guided tour or fully self-guided?
It’s self-guided. You get detailed safety instructions and a map with where to go and what to see, and the staff adjusts guidance based on weather conditions.
What do I need to bring?
Bring swimwear, a towel, and water.
What if the weather isn’t suitable for kayaking?
The operator will inform you a day or two in advance so you can change or cancel your reservation free of charge.