REVIEW · NERJA
Nerja: Free kayaking route (without a tour guide). 2.5-hour tour. Nerja-Maro Waterfall.
Book on GetYourGuide →Operated by Educare Aventura · Bookable on GetYourGuide
Kayaking to a waterfall sounds unreal. On Nerja’s coast, it’s very doable: you paddle a self-guided route to Maro Waterfall with pre-launch safety instruction, a route map, and staff support along the way. I like that you can choose your pace instead of getting told when to turn around, and I also love the mix of stops—coves, caves, and waterfalls—without the usual big-tour crowds.
Here’s the one thing to consider: the route involves real water time and cold water (especially outside peak summer). If you’re not a confident swimmer or you get tired easily, plan on stopping when you need to—and come prepared for a bit of effort.
In This Review
- Key highlights from this Nerja–Maro kayak route
- Why This Self-Guided Paddle Feels So Good on Nerja’s Coast
- Burriana Beach: Where You Launch and How to Get Ready Fast
- The Route Basics: How Long You Really Spend on the Water
- Sea Lion Cave and Doncella Waterfall: The First Big Payoffs
- Sea lion cave
- Doncella waterfall
- Barranco de Maro Cove and Caleta de Maro: Where You Catch Your Breath
- Reaching Maro Waterfall: The Moment You Came For
- Staying Comfortable: What to Bring and How to Pack Light
- Safety and Confidence: What the Setup Really Does for You
- Who This Kayak Route Is Best For (and Who Should Skip It)
- Price and Value: Is €28 Worth It Here?
- Practical Tips for a Smoother Day
- Should You Book the Nerja–Maro Kayak Route?
- FAQ
- How long is the kayaking experience to Maro Waterfall?
- Is this tour self-guided or do I need a monitor on the water?
- Where do I meet for the kayak launch?
- Is there a place to store personal belongings?
- Do they provide safety support during the paddle?
- What should I bring and wear?
Key highlights from this Nerja–Maro kayak route
- Self-guided kayaking with a route map and safety measures so you’re not guessing the whole way
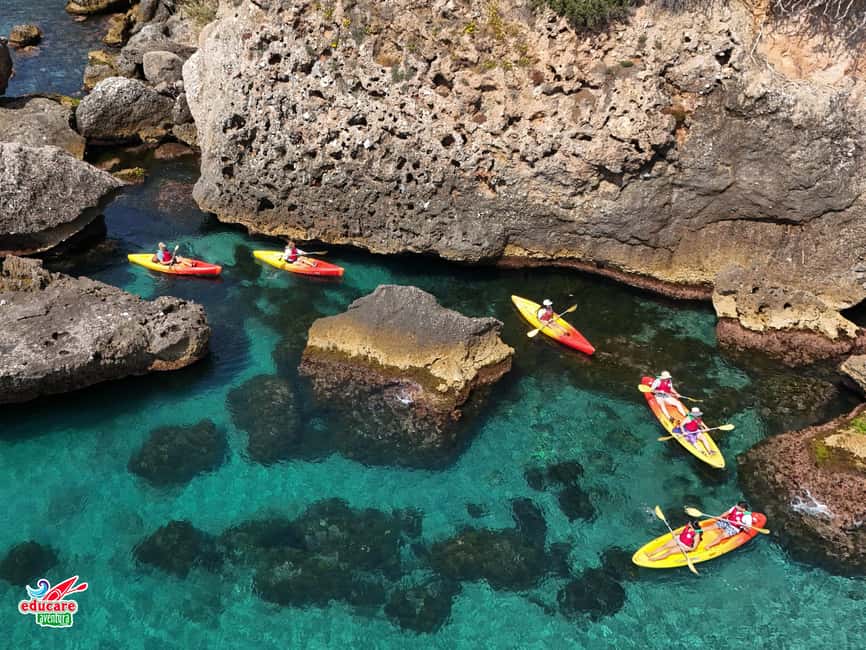
- Caves and waterfalls on the same paddle, including sea lion caves and the Doncella waterfall
- Turquoise-water swimming at your own pace, with time for short breaks
- Departing right from Burriana Beach with kayaks and paddles set up for you
- Safety boat coverage along the route for peace of mind
- Large lockers on the beach to store belongings while you paddle (locker service is included, security lock cost applies)
Why This Self-Guided Paddle Feels So Good on Nerja’s Coast
This is one of those activities that works because it gives you just enough structure. Before you head out, you get basics for safety and maneuverability, plus a map with route guidance and safety features. Then you’re free to paddle your own rhythm along the Nerja cliffs.
I like the balance here: it’s not a full-on lesson stuck on shore for an hour, and it’s not a DIY chaos float either. The staff setup—kayaks and paddles ready to go—means you spend your energy on the water, not hauling gear around. One nice bonus from the experience style is that you can linger at the spots you actually care about, whether that’s a cave view, a photo stop, or a proper swim.
You can also read our reviews of more tours and experiences in Nerja.
Burriana Beach: Where You Launch and How to Get Ready Fast
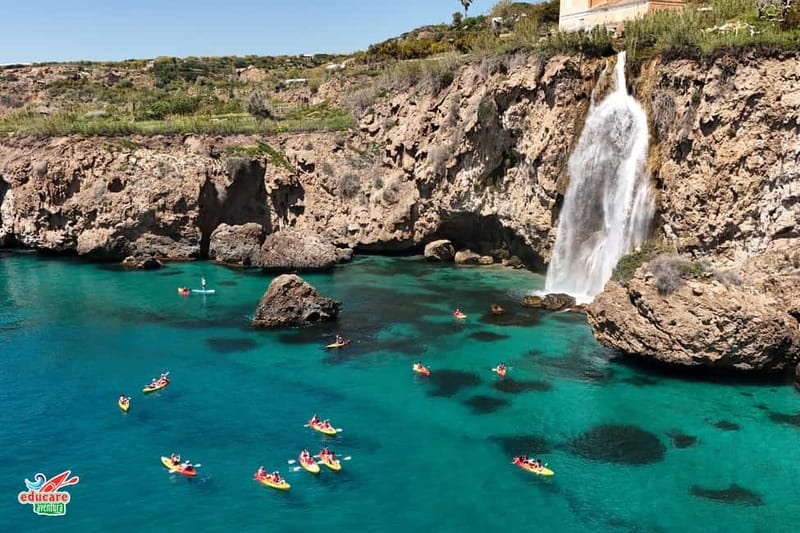
Your starting point is simple: the white tents on Burriana Beach, between Ayo and Rincon del Sol restaurants. Plan to arrive 20 minutes before your reserved time, because parking can be free but is in high demand.
Once you check in, expect the routine to be quick. You’ll get your kayak (single or double), life jacket, and the route map. Before you go out, you’ll receive intro and safety classes. That matters on this coast because you’re paddling near cliffs and coves—so “knowing how to turn and control your kayak” is more useful than it sounds.
A practical win: you can leave your stuff in a locker with a security lock, plus surveillance. The included detail to notice is the cost for the locker service (€2). For most people, it’s worth it because you can keep your daypack light and bring only what you truly need (swimwear, a towel, sunscreen, and a charged phone if you want pics).
The Route Basics: How Long You Really Spend on the Water
The experience is set for about 2.5 hours total equipment time, counted from when you go out on the water. The standard route is described as roughly a 6-kilometer round trip. That’s long enough to feel like you did something real, but short enough to stay relaxed if you pace yourself.
Departures run every hour, which is helpful if your Nerja day has plans built around lunch, beach time, or sunset. The biggest “time management” tip I’d give you: don’t treat it like a race. The whole point of this style is that you can stop, float, swim, and look around without worrying that you’re falling behind a group.
If you want a rule of thumb, some paddlers mention about 40 minutes to reach the falls when things are smooth. Your timing will depend on wind, comfort level, and how often you pause.
Sea Lion Cave and Doncella Waterfall: The First Big Payoffs
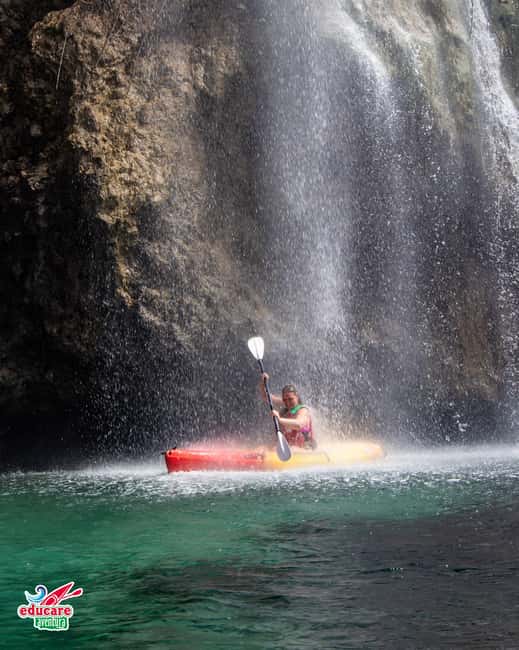
After launching from Burriana Beach, the route takes you through a set of coastline highlights that feel like a greatest-hits list—without being overpacked.
Sea lion cave
You’ll pass the sea lion cave area as part of the standard tour line. The key value here is simple: it’s one of those “how is this here” moments you only get when you approach by water. From a beach viewpoint you see the cliff; from a kayak, you see scale and shape. You also get a better sense of how sheltered coves open and close along this stretch.
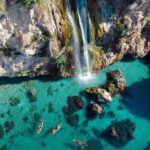
Doncella waterfall
Then comes the Doncella waterfall stop. Waterfalls are the kind of feature that look great from far away and even better up close. On the kayak route, you’re not just looking—you’re physically in the setting. Just keep an eye on your footing in shallow areas when you stop, and don’t rush the jump-in moments. If you want that classic waterfall photo, set your kayak position first, then take your time.
Not every stop is equally “hands-on,” but the way the route is arranged is what makes it work. You’re not spending all your time paddling in open water. There are repeated reasons to slow down.
Barranco de Maro Cove and Caleta de Maro: Where You Catch Your Breath
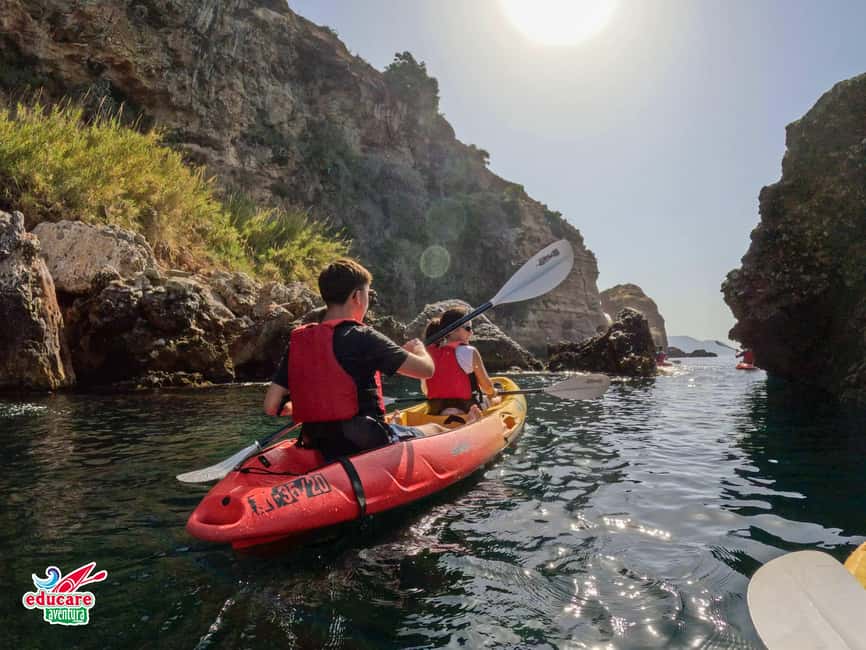
This is the zone that makes self-guided kayaking feel worth it. The route includes Barranco de Maro cove and Caleta de Maro, which are exactly the kind of spots where you can slow down without feeling like you’re wasting time.
Coves are where you can:
- take a breather from paddling,
- angle your kayak for photos,
- and decide how long to stay before moving on.
One of the most useful habits you can bring is to paddle a little, stop a little. If you try to muscle through long stretches, you’ll feel tired when it’s time to enjoy the best parts. The route design gives you multiple “reset points,” so you can keep energy for the Maro Waterfall part.
Some people also talk about beach-like stops with swim time. You should expect opportunities for water contact and short hangs, but treat it as a bonus—go with the flow and don’t build your entire plan around one exact swimming minute.
Reaching Maro Waterfall: The Moment You Came For
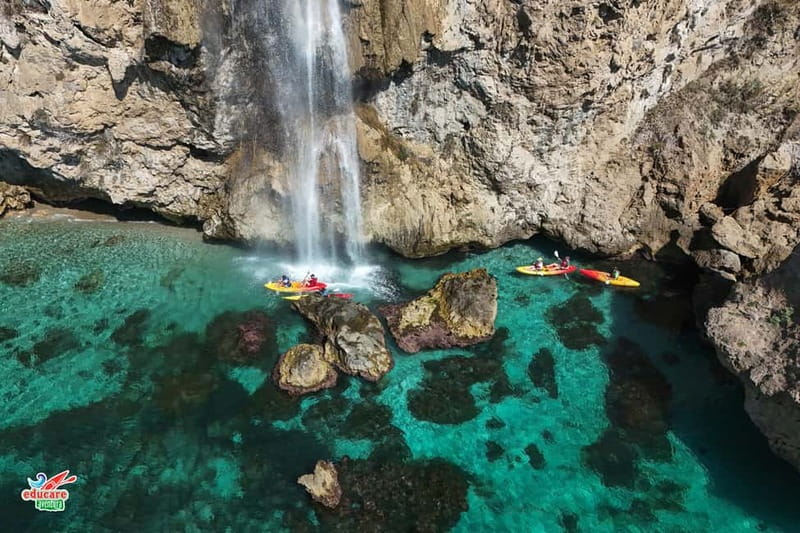
Maro Waterfall is the finish line, and it’s the reason this route gets booked. The big idea isn’t only that it’s a waterfall—it’s that you can kayak in a way that puts the fall in your frame instead of behind someone’s railing.
When you approach, look for a safe place to pause. A waterfall area can be slippery, and it’s easy to forget that you’re in a moving coastal environment. This is also where the safety setup matters. There’s a safety boat out in the water for anyone who needs help, and you’ll see it checking in occasionally.
If you’re doing the self-guided version, the route map helps you keep track of where you are so you don’t wander into dead ends. I’d also make a quick mental note before you get to the falls: where can you regroup your kayak, where can you exit safely, and where do you want to spend your time before heading back?
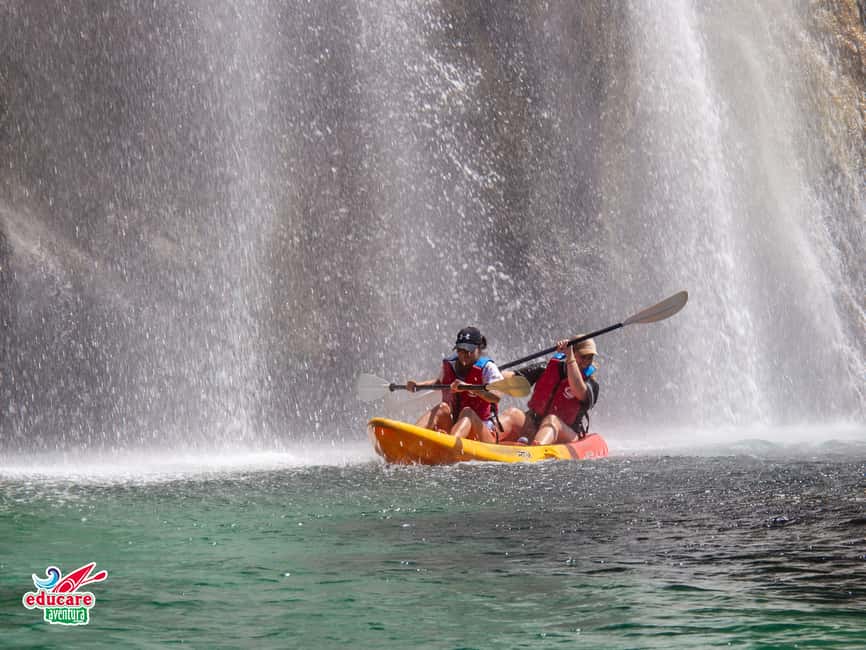
The waterfall segment is great for photos and for the feeling of being close to the water’s force. Some paddlers have mentioned the experience includes fun and a sense of getting to kayak right under the falls, which is exactly the payoff this area is known for—because it’s not the same from land.
Staying Comfortable: What to Bring and How to Pack Light
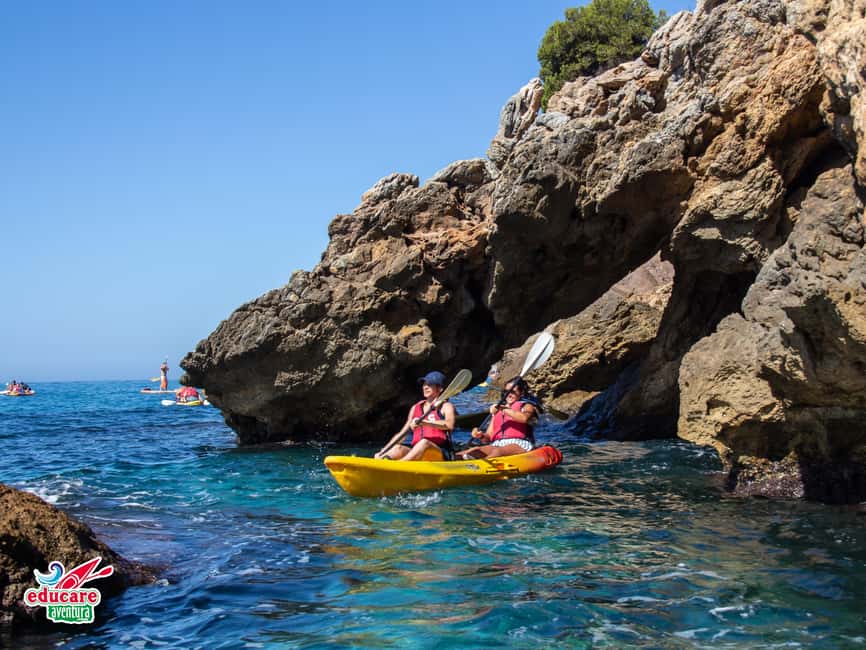
This is a short trip on the clock, but it’s still time on the sea. Your packing can make or break the experience, so keep it practical.
Bring:
- swimwear
- sandals (or water-friendly footwear)
- drinks (you’ll want it)
- sunscreen (choose biodegradable sunscreen)
- comfortable clothes and beachwear
- a daypack
- a charged smartphone
What matters is that you can rinse off and handle wet sand. If you use a daypack, keep it simple. Avoid overstuffing because you’ll carry it around before and after. And remember the non-negotiables: no alcohol or drugs, no glass objects, and no littering. Also no weapons or sharp objects, and no fishing.
One more pro tip: you might not want to wear your bulkiest outfit. You’re planning for water time, not sightseeing in a museum.
Safety and Confidence: What the Setup Really Does for You
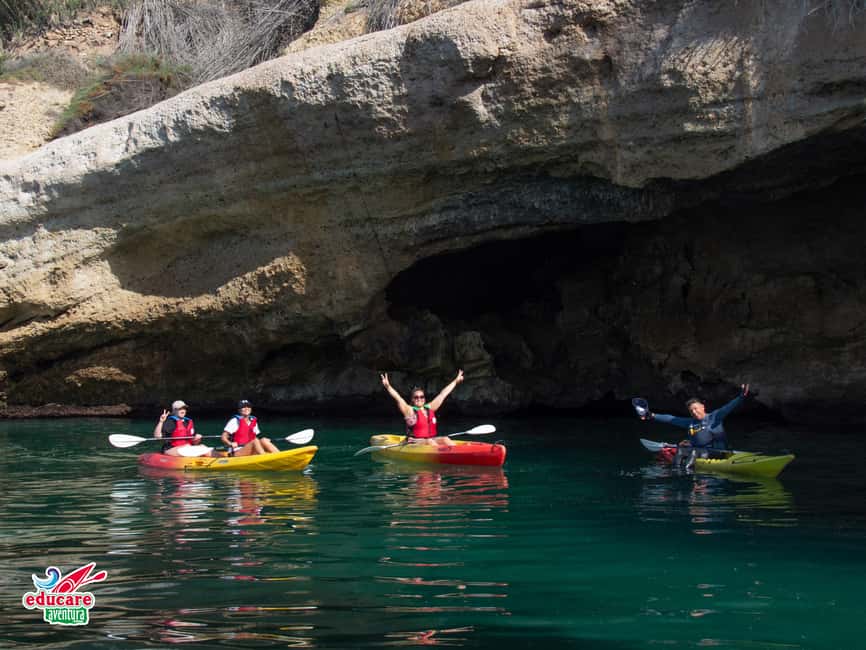
Safety is built into the day, not just mentioned at check-in. The operator provides basic safety and maneuverability techniques before you head out, plus life jackets. A route map shows the route and safety features, and there’s a safety boat out in the water.
That boat coverage is the kind of thing that changes how you feel on the water. If you capsize or get stuck, you’re not left to solve a problem alone. One story in the information set describes a capsize situation and a fast response—organisers got help quickly and arranged speed-boat support to shore.
Still, don’t treat it like a thrill ride. This route isn’t for everyone, and the rules spell out some clear boundaries.
Who This Kayak Route Is Best For (and Who Should Skip It)
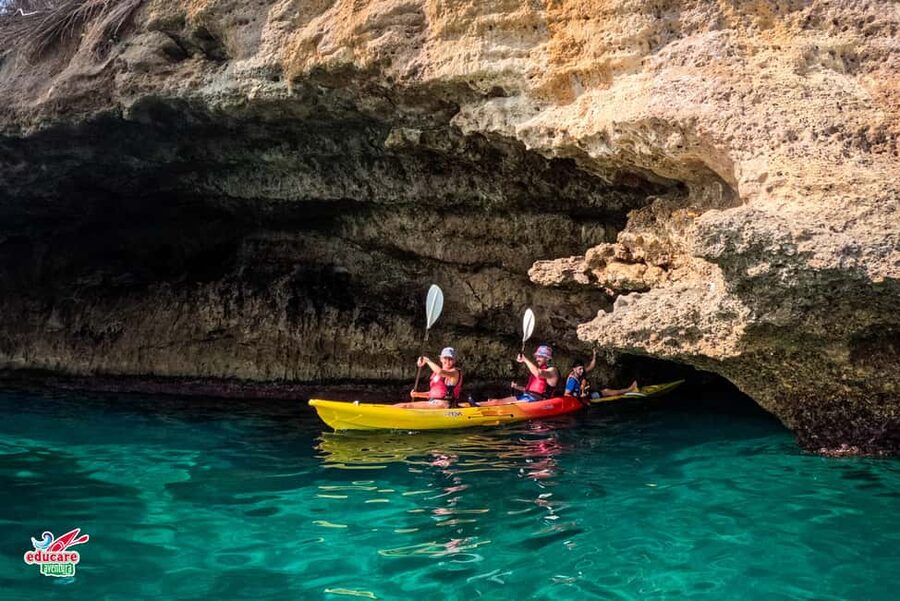
If you want a self-guided adventure with structure, this fits well. It’s especially good for couples, friends, and confident solo paddlers who want independence but still want safety support.
It’s also a good match if you like short-to-mid length outdoor activities. This isn’t a half-day marathon, but it’s long enough to feel like you moved through the coast, not just drifted for 20 minutes.
It is not suitable for:
- children under 5
- wheelchair users
- non-swimmers
- people over 80 (and the rules also list over 95)
- people over 309 lbs / 140 kg
So if you’re on the fence, go by comfort, not bravado. If you’re new to kayaking, you might still do it if you pay attention to the safety intro and stick close to the planned route. But don’t plan this as your “first ever” activity if you’re likely to panic in cold water or you tire fast.
Price and Value: Is €28 Worth It Here?
The listed price is $28 per person for the self-guided 2.5-hour experience. In plain terms, you’re paying for three things that are hard to replicate yourself:
1) the kayak + paddles + life jacket setup
2) the safety instruction and route map
3) access to a coastline segment that’s meant to be done from the water
Because you’re not paying for a full time monitor-guide during the paddle (that’s not part of the included package), you should expect to do the navigating yourself using the map and guidance given at launch. That’s where value comes from: you get independence without turning it into a DIY risk.
If you compare costs to a guided tour, the value angle is that you can spend money on the activity itself and not on an extra person pacing you. For many people, that independence is the main reason they choose this kind of route.
The locker service (€2) is a small add-on you should budget for if you don’t want to carry your valuables. Still, it’s one of the simplest ways to keep your hands free for paddling.
Practical Tips for a Smoother Day
A few habits will help you enjoy the ride more:
- Arrive early: parking is free but in high demand, and you need time for formalities.
- Bring drinks: it’s short, but sea time makes thirst sneak up on you.
- Use biodegradable sunscreen: it’s required and it’s kinder to the water.
- Dress for cold water if you’re going in shoulder season. Some days feel perfect on shore, then the sea reminds you it’s the sea.
- Follow the map: self-guided doesn’t mean direction-free. Keep your bearings.
- Treat capsize prevention seriously: no jumping or unsafe behavior is listed for a reason.
And if you decide to do a guided option in general, the info provided mentions guides by name like Samuel and Sevi—so if you see those names on the day, you can take that as a sign the operation has experienced people around.
Should You Book the Nerja–Maro Kayak Route?
I’d book this if you want a real coastal adventure with waterfalls and caves, but you also want control over your pace. The self-guided format is the selling point: you get safety instruction, a route map, and safety boat coverage, then you’re free to linger at the parts that make you happy.
Skip it (or choose a different kind of water activity) if you’re a weak swimmer, you’re easily overwhelmed in cold conditions, or you’re not comfortable with the idea of paddling for a couple of hours even with breaks. And if you’re coming with kids, keep in mind the strict minimum age.
If you’re looking for value that goes beyond “we took a boat and looked at cliffs,” this route has the right mix: structured start, multiple standout stops, and a payoff that only makes sense from the water—Maro Waterfall.
FAQ
How long is the kayaking experience to Maro Waterfall?
The tour time is about 2.5 hours, including the equipment rental time counted from when you go out on the water.
Is this tour self-guided or do I need a monitor on the water?
This specific experience is self-guided. You’ll get basic safety and maneuverability instruction before you launch, plus a route map with safety features.
Where do I meet for the kayak launch?
Meet at the white tents on Burriana Beach in Nerja, between Ayo and Rincon del Sol restaurants.
Is there a place to store personal belongings?
Yes. There are large individual lockers with a security lock and surveillance. Locker service is included, with a €2 charge mentioned for the locker.
Do they provide safety support during the paddle?
Yes. You receive intro and safety classes before heading out, and there is safety boat coverage along the route.
What should I bring and wear?
Bring swimwear, sandals, drinks, sunscreen (biodegradable sunscreen is recommended/required), comfortable clothes/daypack, and a charged smartphone.