REVIEW · OAHU
Mokolii Island Self Guided Kayak Tour
Book on Viator →Operated by Active Oahu Tours · Bookable on Viator
You get water time and land time, back to back.
This self-guided kayak and hike combo in Kualoa Regional Park is built for people who want freedom, but still value a real setup before you’re on the water.
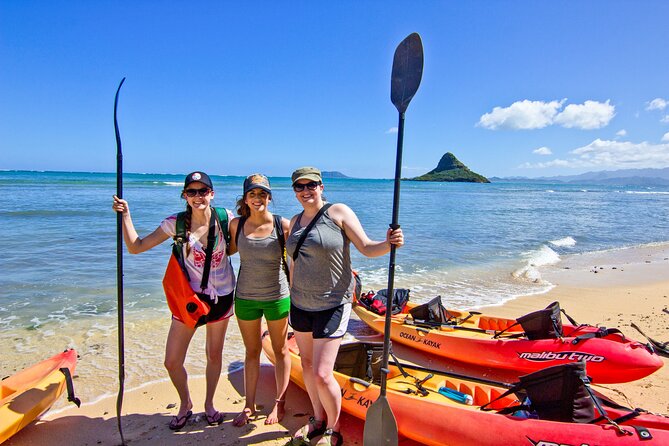
I like that you start with on-shore instruction and leave with a printed self-guided map, so you’re not guessing in the middle of the ocean. I also love the practical gear: life jackets and dry bags, plus straps and pads to haul your kayak on almost any 4-door car or van.
Here’s the main thing to think about: Mokoli’i’s terrain can get serious, and you should be ready for some carry-and-steep-trail work if you plan to go beyond the easy shoreline loop.
In This Review
- Key points before you go
- Entering the Kualoa world: Mokoli’i at your pace
- Adventure Hub in Kailua: where the day really starts
- Kayaking to the island: freedom with safety basics
- Mokoli’i Island hike: the loop is the sweet spot
- Carrying your kayak: the small annoyance that can matter
- Timing your 4 hours: how to avoid rushing the views
- Price and value: why $82 can make sense here
- Weather matters: when this is a yes, and when it’s a no
- Who this suits best (and who should reconsider)
- Should you book the Mokolii Island self-guided kayak tour?
- FAQ
- How long is the Mokolii Island Self Guided Kayak Tour?
- Is the tour self-guided or guided?
- What’s included with the tour price?
- Is kayak and gear delivery to the beach included?
- Where do I meet for the tour?
- What fitness level do I need?
- Is the hike easy?
- What happens if the weather is poor?
- How does cancellation work?
Key points before you go
- Small-group feel (max 15): more personal attention at the start, less chaos after you launch.
- Self-guided, but not left hanging: you get instruction and a map before you paddle on your own.
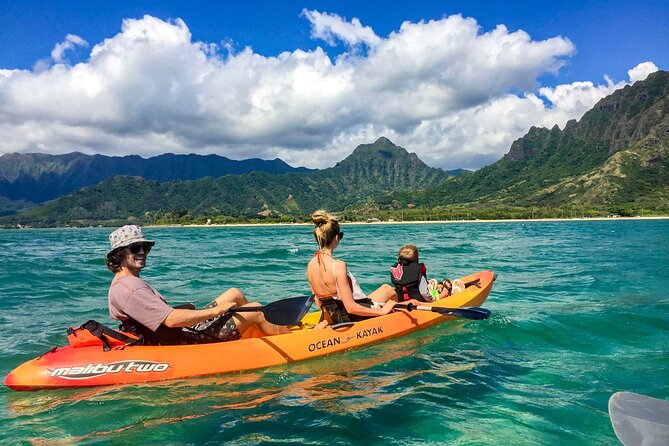
- Shallow-water sightseeing: you can often see the bottom, which makes the kayaking feel calmer.
- Two different hike styles: a loop for most people, with steeper options for experienced hikers.
- Real car-to-beach logistics: you’ll strap and transport your own kayak; it’s easy, but it’s still your job.
Entering the Kualoa world: Mokoli’i at your pace
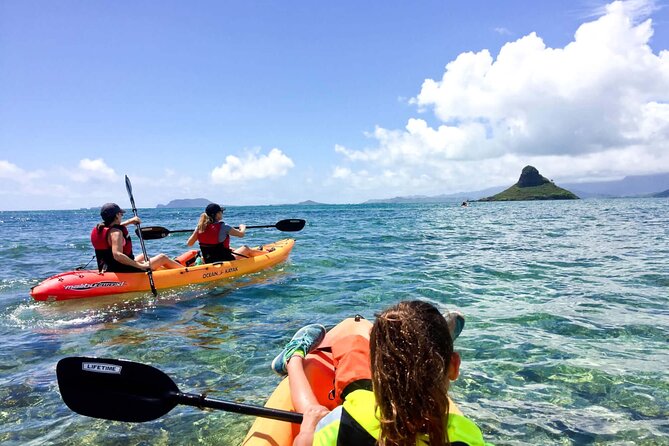
Mokoli’i Island is one of those Oahu spots that feels like a day trip with a story baked in. One part is ocean time—kayak strokes, sea-breeze focus, and the steady drama of the Koolau Range watching from the horizon. The other part is a hike that rewards you with the kind of views you actually want to remember: sharp angles, ridge lines, and island scale that doesn’t show up the same way from the beach.
What makes this experience click is that it’s self-guided, not self-confident. You’re given enough structure to feel oriented, then you choose how long to stay out there. That means you can go slower if you’re taking photos, or move at a steady pace if you’re trying to fit this into a busy Oahu itinerary.
You’re also not dealing with crowds in the usual tour-bus sense. With a maximum of 15 travelers, the whole setup feels more like a planned outing than a production line.
You can also read our reviews of more tours and experiences in Oahu.

Adventure Hub in Kailua: where the day really starts
Your pickup point is at 134b Hamakua Dr, Kailua, HI 96734. Plan to arrive with a clear idea of what you’re bringing and how you’ll carry it. This is not a drop-kayaks-at-the-beach situation. Gear delivery to the beach isn’t included, so you’ll handle the transport from the shop to the launch area.
Good news: the package includes pads and straps that are designed to work with kayaks and fit on a 4-door car, van, or truck. In plain language, it’s meant to be doable without special gear from your own garage.
One review stood out on this point: a staff member named Rob was helpful with strapping a kayak onto a rental car (even a convertible). That’s the kind of detail that matters because the first time you do kayak roof-strapping, you either feel confident… or you overthink every strap for 20 minutes. The experience here seems built to help you get past that initial wobble quickly.
Also grab comfort where you can. A dry bag is included, and that’s not just a nice-to-have. If you get any salt spray on your phone or you want a dry layer for later, you’ll be glad you didn’t skip it.
Kayaking to the island: freedom with safety basics
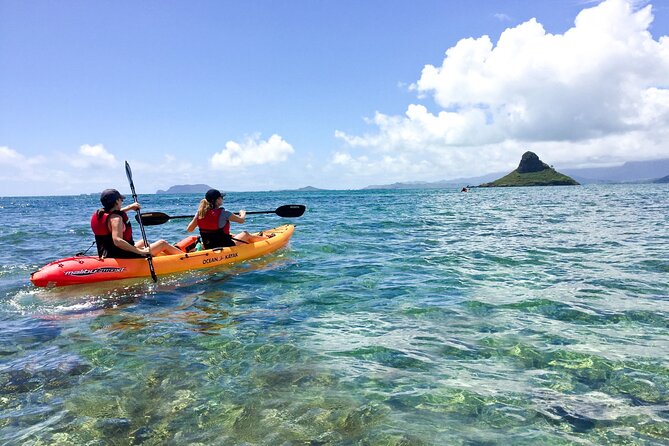
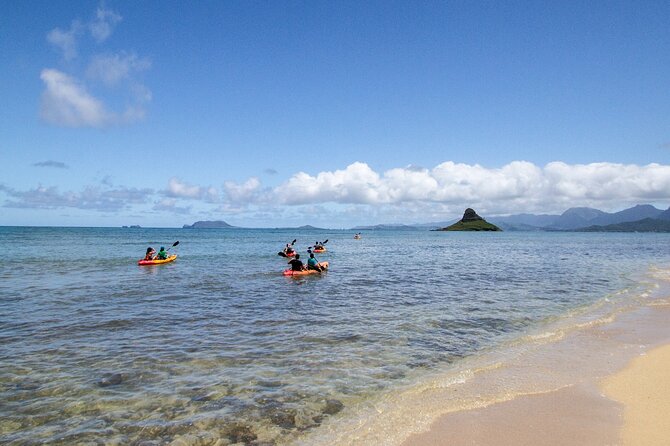
Once you’ve got the life jacket on and the kayak sorted, you’re on your own in the water. The plan is designed as a combo: paddle first, then hop on shore for the hike.
The ocean part is where you’ll notice the value of those included basics:
- Life jackets keep the experience focused on kayaking, not worry.
- Dry bags let you bring essentials without treating every wave like a threat.
- A printed self-guided tour map helps you stay oriented without needing a live guide yelling directions over the water.
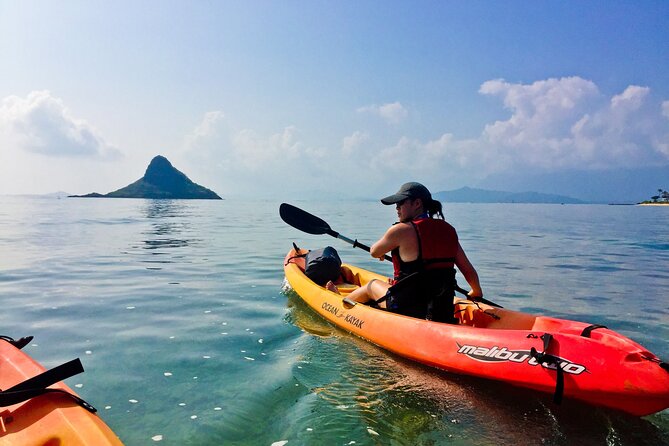
One thing I really pay attention to on island kayaking days is water depth. Here, you can often see the bottom and the water isn’t deep, which makes the whole trip feel more approachable. That’s especially helpful if you’re a first-timer or if you’re kayaking with someone who gets nervous when they can’t see what’s underneath them.
On timing, you’re not forced into a strict minute-by-minute schedule. That showed up in how people describe the day: once they were set up, they liked the flexibility and the lack of time pressure. If you want to paddle around and check views for a while, this is the kind of tour where that works.
And yes, Mokoli’i Island sits in an area people associate with classic sights. One reviewer mentioned kayaking toward Chinaman’s Hat, and another talked about spending time around Lanikai. The takeaway for you: the water section is your chance to enjoy the scenery and plan your own loop, as long as you follow what’s on your map and respect conditions.
Mokoli’i Island hike: the loop is the sweet spot
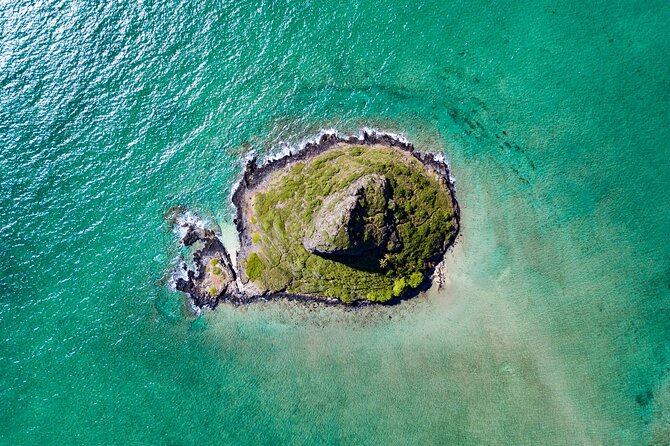
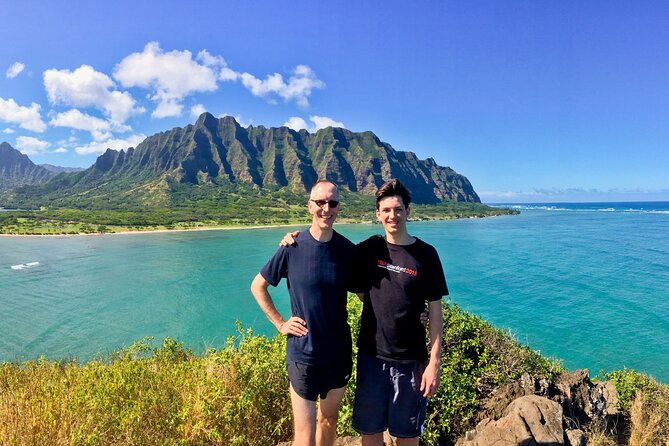
This is where Mokoli’i earns its reputation. After you land, you’ll start a hike designed around getting views of the Koolau Range and the surrounding coast.
The most straightforward plan is to hike around the circumference of Mokoli’i. That loop style is for you if you want the island experience without turning the day into a technical climbing project. It’s still a hike—expect effort—but it’s the part of the experience that feels most “made for this combo tour.”
There’s also a steeper route option. The trail to the top is described as moderate to advanced at points, and that’s not the kind of detail you should gloss over. One review warned about a steep section that turned into a technical rock climb partway up, and they didn’t make it to the top.
So use this guidance like a filter:
- If you’re fine hiking hills and uneven ground, aim for the loop.
- If you’re comfortable with scrambling and technical terrain, you can consider the top route.
- If you’re unsure, take the safer option and still enjoy the views. You’ll still get the whole island payoff.
The time on the island is listed around 2 hours, which is another clue that you’re not meant to rush. The island hike is one of those parts where stopping for photos and catching your breath is normal.
Carrying your kayak: the small annoyance that can matter
One issue that came up for a minority of people: kayaks were staged a short distance from the launch point, and in at least one instance, the person working didn’t help carry the kayak the extra stretch. The report mentioned roughly 100 yards.
This doesn’t mean the experience is bad. It means you should factor it in if you’re planning on a calm, effort-light day. If you have any shoulder, wrist, or back sensitivity, think about how you’ll handle lifting a kayak and walking it over uneven ground.
There was also another carry note from a review: it felt like more work than locations where kayaks are staged right at the shoreline. Again, not disastrous, just a real logistical detail that changes the feel of the outing.
For me, that’s the main “balance” point to keep in your head: you get freedom and flexibility, but you also take on some of the physical and setup responsibility that a guided tour would handle.



Timing your 4 hours: how to avoid rushing the views
The total experience is about 4 hours (approx.). That doesn’t mean you’ll be on the move the whole time. It’s more like a day window that includes setup, kayaking, landing, hiking, and getting back.
A smooth plan looks like this:
- Use the first chunk to get your kayak strapped and double-check that everything’s secure.
- Paddle at a comfortable pace so you’re not arriving at the hike already winded.
- Treat the island loop as your anchor plan, then decide later if you’re feeling good enough for steeper terrain.
One review also said they booked for 4 hours but were told they could bring the kayak back whenever they finished—so there’s a bit of built-in flexibility. That’s a nice perk on an outdoor day when wind, photo stops, or energy levels don’t behave like a stopwatch.
Also remember: you’re in a coastal setting. Light changes quickly, and weather shifts fast. If the day starts feeling iffy, don’t push your plans. The goal is a great experience, not a forced one.
Price and value: why $82 can make sense here
At $82 per person, you’re paying for a self-guided day that covers the gear you’d otherwise have to rent or worry about—life jackets, dry bags, kayak-related carrying straps/pads, and a printed map.
To evaluate value, I’d look at two things:
- You’re not paying for a live guide steering every move. That’s why it stays more affordable than full guided paddling-plus-hiking.
- You get enough structure to do it safely and confidently. That on-shore instruction and the map are part of the cost, and they matter more than most people expect.
If you’re traveling with your own rental car or are comfortable with DIY logistics, the included straps and pads can make this feel like a smart deal. If you’re expecting a fully staff-led day where you never touch a strap, this won’t feel like that.
In other words, this is value for people who want independence—but still want the setup handled well enough that you’re not learning on hard mode.
Weather matters: when this is a yes, and when it’s a no
This experience requires good weather. If the tour is canceled due to poor weather, you’ll be offered a different date or a full refund. That’s a key point because ocean conditions and wind can change the comfort level fast, even if you’re an experienced paddler.
Because the plan is self-guided, you’ll want to use common sense on the day:
- Don’t assume calm seas always mean safe paddling.
- If you see conditions getting rough, shorten your plans.
- Keep your hiking plan realistic. Slick rocks and steep trail sections aren’t the time to prove a point.
Who this suits best (and who should reconsider)
This tour fits you if:
- You have moderate physical fitness.
- You’re comfortable with a self-guided format and following instructions.
- You want that mix of paddle + hike without being locked into a rigid group schedule.
- You like practical support: gear, map, and on-shore coaching.
It may not be the best match if:
- You’re not comfortable with steep, uneven trails. The top route is described as moderate to advanced at points, and at least one person reported a technical climb section.
- You strongly prefer staff carrying and staging gear at the exact shoreline.
- You want zero physical work beyond paddling.
Think of this as an adventurous outing with training wheels, not a lazy beach stroll.
Should you book the Mokolii Island self-guided kayak tour?
I’d book it if you want an authentic Oahu island day where you control your pace and you get real views for your effort—Koolau Range scenery, shoreline perspectives, and a hike that actually feels like part of the destination.
Skip it or choose a more cautious hiking plan if you know you’ll struggle with steep terrain, scrambling, or handling a kayak over a short carry distance from the launch area.
If you like independence, follow directions, and come prepared for some outdoor work, this is the kind of tour that can turn into a standout memory. The combination of self-guided freedom and solid starting instruction is exactly what you want for a day like this.
FAQ
How long is the Mokolii Island Self Guided Kayak Tour?
It’s listed as about 4 hours (approx.).
Is the tour self-guided or guided?
It’s self-guided. You get on-shore instruction before you set out on the water, and you use a printed self-guided tour map during the experience.
What’s included with the tour price?
You get life jackets, dry bags, all other equipment needed for the experience, a printed self-guided tour map, and pads and straps to transport the kayaks.
Is kayak and gear delivery to the beach included?
No. Delivery of kayaks and gear to the beach is not included.
Where do I meet for the tour?
The meeting point is 134b Hamakua Dr, Kailua, HI 96734, USA. The activity ends back at the meeting point.
What fitness level do I need?
You should have a moderate physical fitness level.
Is the hike easy?
There’s a recommended loop around the circumference of Mokoli’i, but the hike to the top is described as moderate to advanced at points.
What happens if the weather is poor?
This experience requires good weather. If it’s canceled due to poor weather, you’ll be offered a different date or a full refund.
How does cancellation work?
Free cancellation is available up to 24 hours in advance for a full refund. If you cancel less than 24 hours before the experience starts, the amount paid is not refunded.